Available from 6/21 to 7/9
|
7/6 |
Last day to locate Treasure Room |
|
7/7 |
Last day to send Calling Card |
|
7/8 |
Last day to steal Treasure/Heart |
This guide will only contains strategy to puzzles and Bosses in the Palace.
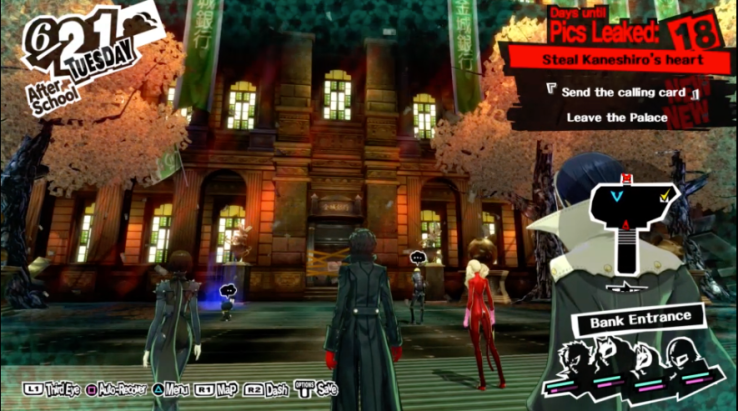
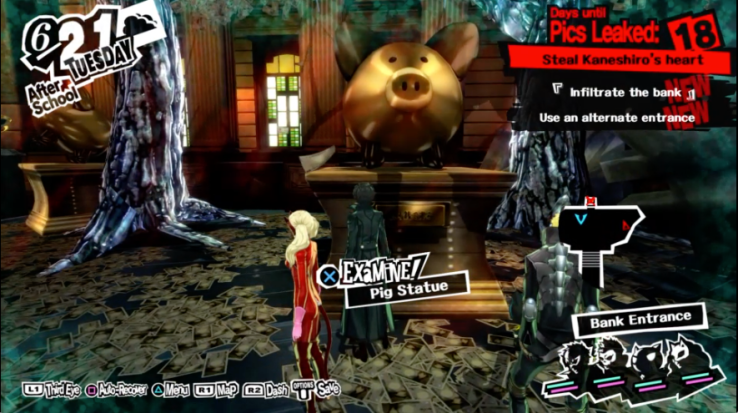
Bank Entrance
The entrance is blocked up and you won’t be able to enter it. Head to the right and check the Pig Statue.
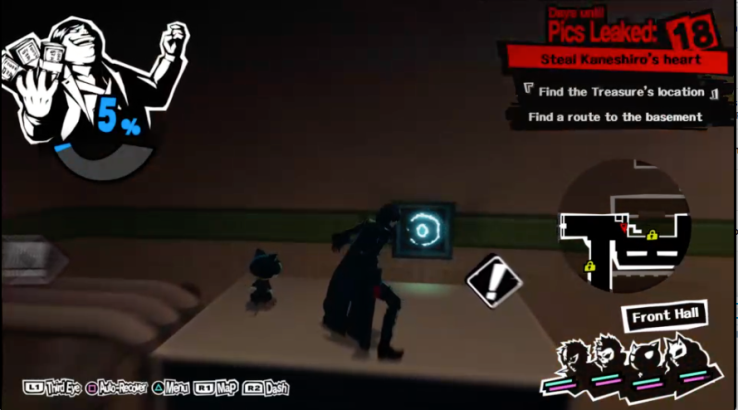
Front Hall
Head towards the left of the reception area and you will see that there is an elevator but it is controlled elsewhere. Head up to 2F and look for the vent above the cupboard to get inside the control room area.
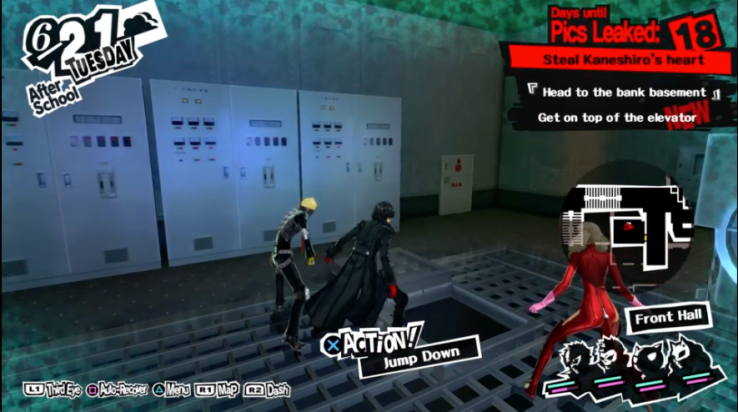
Once you get the key card, head to the other locked room that you are unable to access before. Inside teh room, jump down the small opening and the elevator will moved.
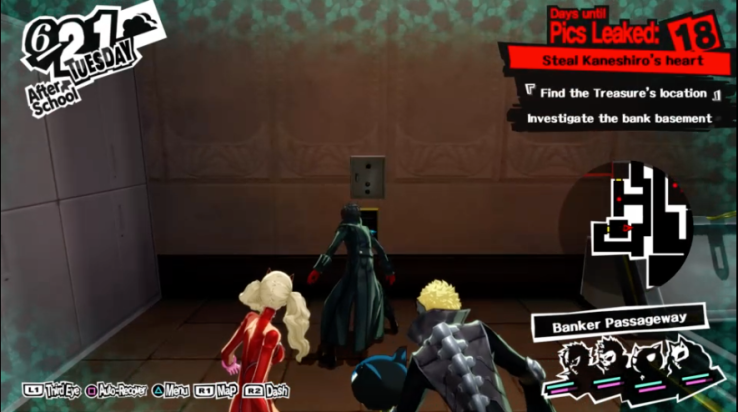
Banker Passageway
From here onward, you will need to avoid security camera. Use your third eye ability to look out for blind spot that you can take. Look for the control to destroy it so that the camera can be switched off.
You need to destroy the camera along the stairway. Look for the control switch in the following area:
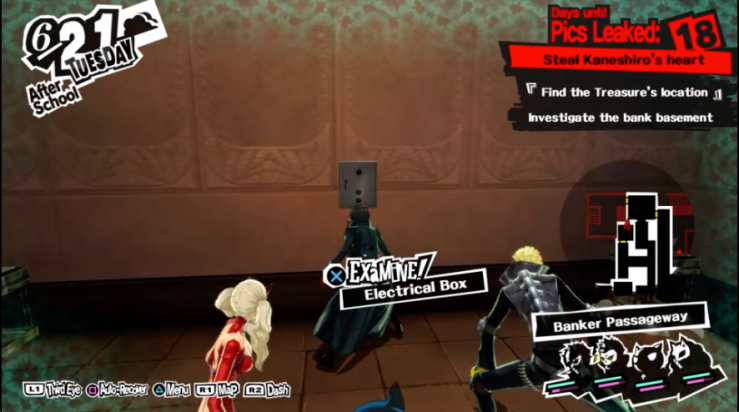
Before heading to the next section, destroy the control in the main hall to switch off the camera guarding the treasure in the room above.
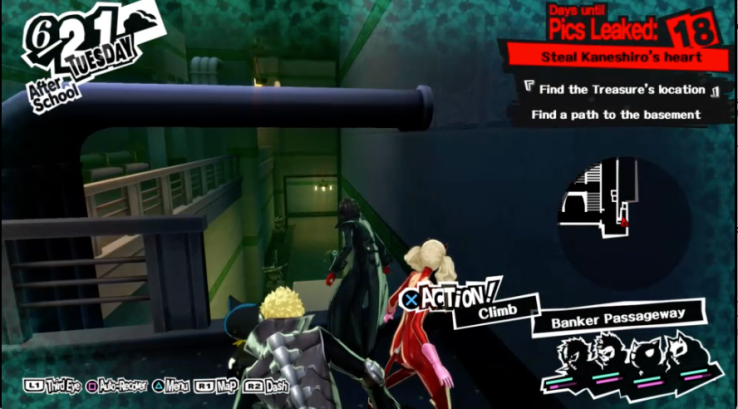
Follow the route available on the map and you will come into a room with lots of camera. You won’t be able to proceed to the basement from here.
Head to the bottom right of the map. Climb up the pipes and jump down to the floor below.
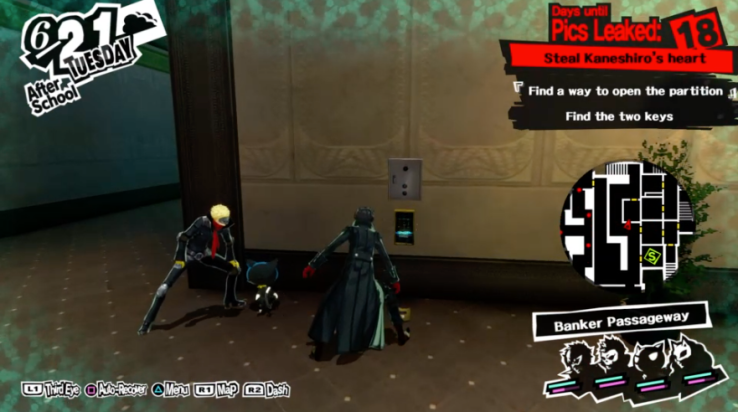
You will noticed that there is a locked room near the safe room that you are unable to enter. Go to the room above it and there is a vent where you can crawl to the next room.

Destroy the two control switch in the room. This will turn off all the camera along the stairs. Move up the stairs to the gated door where you can see two shadows inside. Listen to their conversation and then move to the monitor room. Check the communicator and fight the first shadow for the Right Key. Move to the other security room immediately to battle the next shadow for the Left Key. You can open the Vault to the next section now.
Laundering Office
The door to the next section is locked. Head down to the end of the path and there is a vent that you can crawl through and then jump down to the level below.
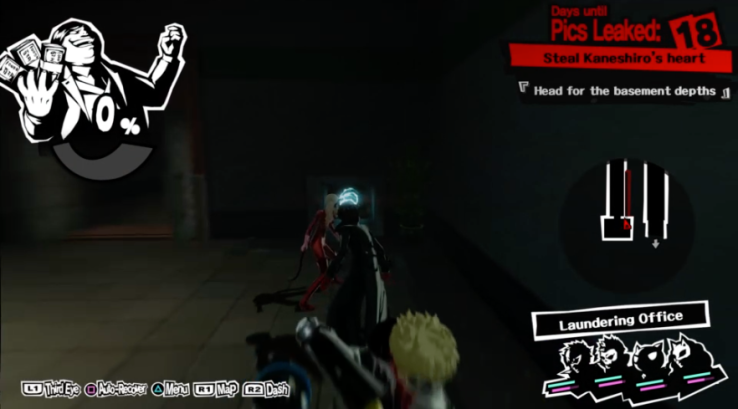
Take the elevator down and move to the next room to listen to Kaneshiro conversation with the guards and battle the mini boss.
Demonic Warlord

- Take down the 2 shadow first
- Floodbringer Demon
- Weak to Freila
- Tornado Devil
- Weak to Electric
- absorb Wind
- The Warlord is weak to Psio
- The battle will be easy if you can knock them down and use an all out of attack
Take note of the code that Kaneshiro dropped
- R=C=0
- I = 1
- H = 2
Take the elevator to the next area.
Underground Vault
This room is filled with code puzzle.
Check the PIN Entry Panel at the entrance. RICH = 0102
You will need to follow the steps next to get the PIN and unlock the Vault:
- Vault 1F – First Control Room [P=1]
- Vault 1F – Lower level [E=9 ; A=3]
- Vault 1F – Enter REAP = 0931
- Vault 2F – Room filled with laser barrier. Use the Vent and jump on on top of the shelves to reach the other end of the room. [U=A]
- Vault 2F – Same room as the PIN entry Panel [G=P]
- Vault 2F – Enter HUGE = 2319
After this, you will need to battle a mini boss back in the Underground Vault.
Defeated Avenger
- Use magic attack
- Avoid Electric attack
- Avoid bringing Mona into the battle as the mini boss will use electric attack
After the battle, press the left button on the panel, enter the opened area, press button again and come back to previous panel and press the button again to open the new route. Head down to Vault 3F.
In the first area of Vault 3F, you will come across a barrier where the door is locked and the other route is all monitored by cameras. Go back to the room and climb onto the shelves and crawl through the vent.
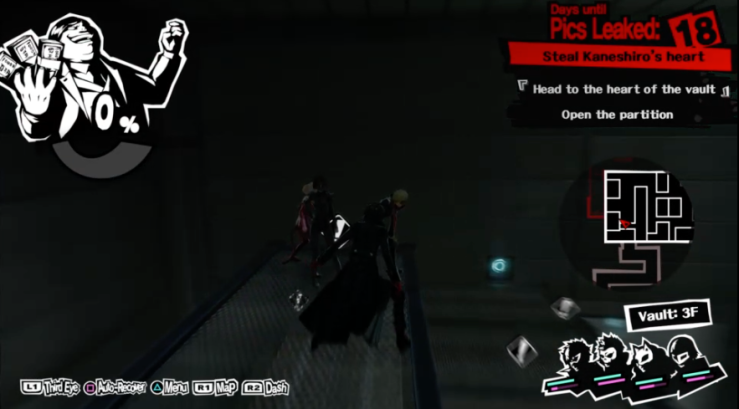
You will find a PIN panel requesting for GOLD. If you want to skip exploring the area, just key in GOLD=1841. Otherwise, follow the below:
- Center Room – O+H=10
- End of the Area – L=U+G , D=G
Go back to the Underground Vault and take the elevator down.
Vault Center
You will enter the Vault Center for a cut scene. After which, go back to Safe Room to save and head back to send your calling card.
Route to Treasure is now secured!
Junya Bael Kaneshiro
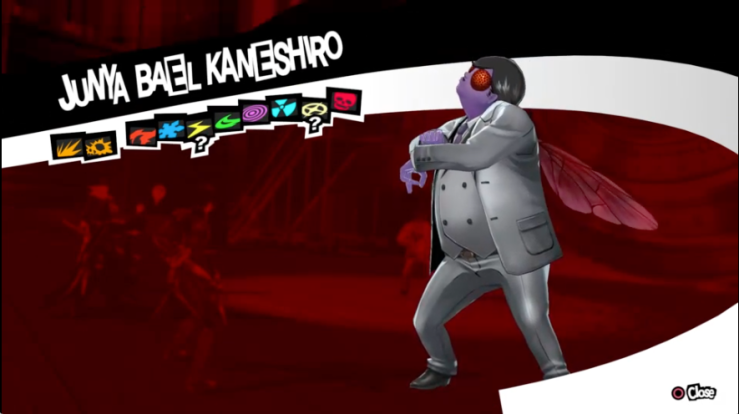
Battle Tactic
- He will inflict fear on your party. Bring Makoto who can lift the fear curse.
- It’s an easy battle. Just use your highest damage to take him down.
Piggytron
- Once you deal enough damage to Kaneshiro, he will summon his Piggytron form.
- No weaknesses
- Reduce its defense and deal your highest damage on it.
- Metabolic Wave and Missile Party will deal huge damage to whole party
- Attack Kaneshiro on top of Piggytron when he use Super VIP form. If you can deal enough damage to bring him down within 2 turns, it can stop him from using March of the Piggy which can wipe out your party. Otherwise, throw any valuable item at him when Mona suggest an alternative method and he will stop spinning to loot it.
- Fear Gas will cast fear on your whole party. Let Makoto lift the curse.
