- The Murder
- Day 1 – Investigation
- Day 2 Trial Former – Cross Examination
- Day 2 Trial Latter- Cross Examination
- Day 2 – Investigation
- Day 3 – Trial Former
- Day 3 – Trial Latter
- Day 3 – Investigation
- Day 4 – Trial Former
- Day 4 – Trial Latter
- Day 4 – Trial Latter 2

The Murder
Bruce Goodman was stabbed in the chest at the Underground Parking Lot of the Prosecutor’s Office. Lana Skye was being accused of murder.
Day 1 – Investigation
| Location | Action |
|---|---|
| Wright & Co. Law Offices | Talk to Ema |
| Detention center | Talk to Lana |
| Underground Parking Lot | PS Version Bonus: Examine the ladder at the back wall – this is will unlock a Trophy if you complete all steps at the end of the Trilogy |
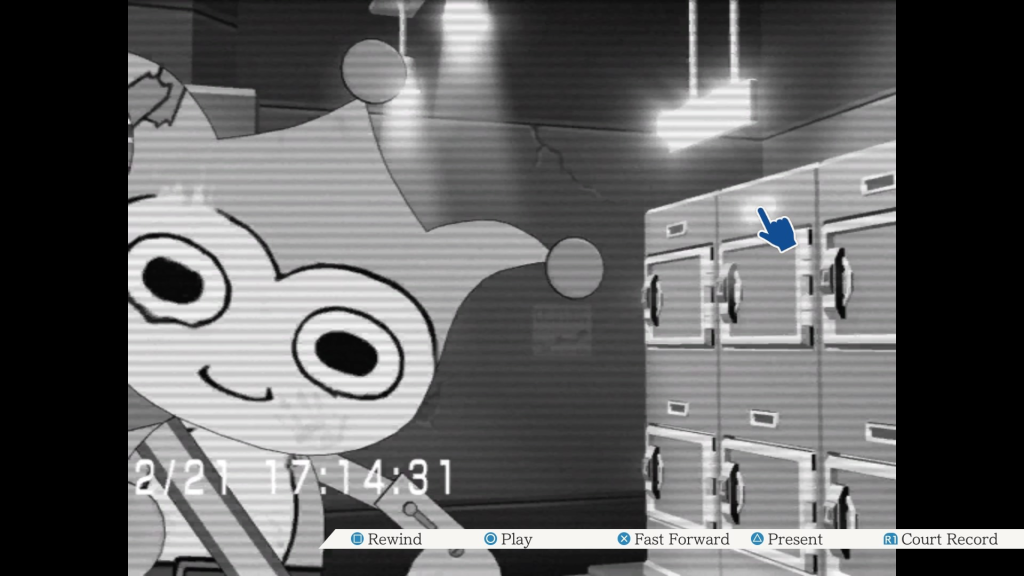
| Underground Parking Lot | Examine wallet on the floor Examine Object: Open Court Record and select the wallet. Rotate it and move the cursor over the gold button on the wallet. Ema will tell you that something is weird, select the gold button and you will get Goodman’s ID |
| Underground Parking Lot | Slide to the screen with the car and examine around to trigger Angel Starr encounter |
| Underground Parking Lot | Talk to Angel |
| Underground Parking Lot | PS Version Bonus: Present Attorney’s Badge to Angel – this is will unlock the Lunchbox Trophy if you complete all steps at the end of this Case |
| High Prosecutor’s Office Room 1202 | Talk to Edgeworth |
| High Prosecutor’s Office Room 1202 | Examine Trophy on the Sofa |
| High Prosecutor’s Office Room 1202 | Present Prosecutor Trophy |
| High Prosecutor’s Office Room 1202 | Talk to Edgeworth |
| Police Department Entrance | Talk to Gumshoe |
| Police Department Entrance | Present Goodman’s ID |
| Police Department Entrance | Talk to Gumshoe |
| Police Department Entrance | Present Prosecutor Trophy & Edgeworth’s Knife |
| Police Department Entrance | Talk to Gumshoe |
| Police Department Entrance | Examine Blue Badger |
| Underground Parking Lot | Present Letter of Introduction |
| Underground Parking Lot | Talk to Marshall |
| Underground Parking Lot | Examine Car trunk to get Goodman’s Note |
| Underground Parking Lot | Examine phone on the floor near the outlined body Examine Object: Open Court Record and select the cellphone. Rotate it and move the cursor over the blue button on the side of the phone. Press the blue button on the inside of the phone to redial last number. |
| Underground Parking Lot | Talk to Marshall |
Day 2 Trial Former – Cross Examination
Angel – Witness’s Account
- Press her first four statements to get Crime Photo
The chief prosecutor was holding a knife in her right hand…
- Present Crime Photo
- PS Version Bonus: Choose No Problem first– this is will unlock the Lunchbox Trophy if you complete all steps at the end of this Case
- Choose Objection to get next statement
The murder was planned! The rubber gloves prove it!
- Present Edgeworth’s Knife
Angel – Angel’s Deduction
Nothing else could drive that human machine to plunge the knife in again and again…
- Present Goodman’s Autopsy Report and unlock next statement
Her red muffler looked like blood to me… that’s how ghastly the whole scene was.
- Present Crime Photo
Angel – Apprehending the Suspect
I quickly caught her, explained her rights to her, and arrested her on the spot.
- Press her statement
Ah yes. When I arrested her, she mentioned the muffler!
- Press her further to get an update on Lana’s Cell Phone and a new statement
I saw it all — how she tried the phone on the wall but had to use her cell instead
- Press her statement
- Present Parking Lot Floor Plans
- PS Version Bonus: Choose What She Saw & The order of events first– this is will unlock the Lunchbox Trophy if you complete all steps at the end of this Case
- Choose Where She Was and select Security Office
- Choose Distance to the crime

Angel – Decisive Evidence
PS Version Bonus: Press all her statements– this is will unlock the Lunchbox Trophy if you complete all steps at the end of this Case
This shoe proves it! It’s flawless, decisive evidence!
- Press her statement
- Select There’s a problem
- Select sole of the shoe with blood stain
- Present Crime Photo
- Select the spot of the cloth in the car muffler (exhaust pipe)
- Present Lana’s Cell Phone


Day 2 Trial Latter- Cross Examination
You will get a switchblade knife at the start of the Trial. You will need to examine it to open it up (because if the judge cut his fingers, he won’t be able to pound his gravel….LOL). Examine the tag to reveal SL-9 2 and the yellow switch at the side of the handle to open it up.

Gant – Department in Disorder
Unless there’s evidence to prove a connection between this knife and Goodman…
- Present Goodman’s Note to get next statement
This knife was evidence in a case. It was stolen from the Department’s evidence room.
- Press statement
A detective was killed at the Police Department, see… what a mess!
- Press statement
- Choose Where the victim was found
It’s not officially linked to this here case, so I can’t talk much about it.
- Press statement
I’ll cooperate, but I can’t reveal the name of the victim in the Department, okay?
- Choose The victim’s ID number
- Choose This tells me something!
- Present Goodman’s ID
Day 2 – Investigation
| Location | Action |
|---|---|
| Underground Parking Lot | Use Luminol on the floor near the No. 1 sign to reveal blood stain |
| Underground Parking Lot | Choose “The amount of blood“ |
| Underground Parking Lot | Talk to Angel |
| Underground Parking Lot | Present Crime Photo & Goodman’s Note/Switchblade Knife |
| Underground Parking Lot | Talk to Angel |
| Police Department Entrance | – |
| Guard Station | Examine Door to Evidence Room |
| Police Department Entrance | – |
| Detention Center | Talk to Meekins |
| Detention Center | Present Goodman’s ID |
| Detention Center | Talk to Meekins |
| Criminal Affairs Dept | Talk to Gant |
| Criminal Affairs Dept | Examine Chief to speak to him (the man below the poster) and get Goodman’s Lost item Report |
| Criminal Affairs Dept | Talk to Gant again to get special ID to access the Evidence Room |
| Guard Station | Examine Door |
| Guard Station | Present Steak Lunch |
| Guard Station | Talk to Marshall |
| Guard Station | Present Goodman’s ID |
| Evidence Room | Talk to Gumshoe |
| Evidence Room | Present ID Card Record |
| Evidence Room | Present Goodman’s Note/Switchblade Knife |
| Evidence Room | Talk to Gumshoe |
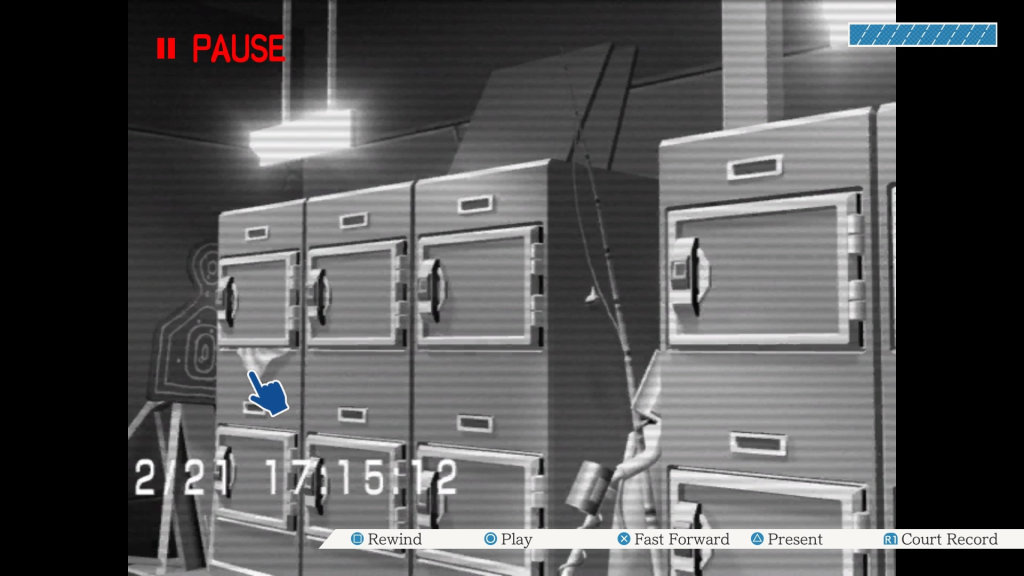
| Evidence Room | Examine the broken pieces on the floor to trigger piecing of evidence (check video for guide) and get Unstable Jar Examine the same spot again after putting back the pieces |
| Evidence Room | Examine Rubber Gloves |
| Evidence Room | Use Luminol on these spots to reveal blood stains 1. Left screen locker with a piece of triangle cloth sticking out of it 2. Right screen locker with a bloody handprint 3. Floor of crime scene where you pick up the jar pieces |
| Evidence Room | Examine the triangle cloth sticking out of the locker |
| High Prosecutor’s Office Room 1202 | Talk to Edgeworth |
| High Prosecutor’s Office Room 1202 | Present ID Card Record |
| High Prosecutor’s Office Room 1202 | Present Goodman’s Note/Switchblade Knife |
| High Prosecutor’s Office Room 1202 | Talk to Edgeworth |
| Evidence Room | You will be triggered to start fingerprinting. 1. Pick any of the clear bloodstain fingers 2. Select the fingerprint you can see faintly below the bloody handprint 3. Match to Gumshoe |
| Evidence Room | Select the locker where you found a wiped away bloodstain earlier 1. Choose the middle finger position (it is not visible but you should see a yellow square if you select the position where it should be) 2. Match to Marshall |
Day 3 – Trial Former
Meekins – Crime Report, Sir!
Press statement all statements and 2nd statement will give an update to ID Card Record. A security video tape will be presented by Meekins and it shows the incident that took place in the Evidence room.
Meekins – Mystery Man
So it must be him! No one else could have unlocked it!
- Present security video
- Select the light above Goodman’s locker at the start of the video when it first come into view
- Select the rubber glove that fell out of the locker when he opened it
- Present rubber glove

Meekins – Mystery Man (2)
At the time of the crime, the detective had used his card!
- Present Goodman’s Lost item Report
- Object & choose Jake Marshall
Day 3 – Trial Latter
Marshall – Day of the Crime
If I remember right, I was at a street-side saloon at the time it went down.
- Present Marshall’s Fingerprints
Marshall – Bloodstained Fingerprints
- Press statement all statements to reveal the next statement.
“Too bad it wasn’t me in that video, right, pardner?”
- Press statement
- Choose Show evidence
- Select the piece of cloth sticking out of his locker at the end of the video
- Present Evidence Locker
- Select Victim’s position
- Select the bloodstained cloth in the scene where he attacked Meekins. You might have to wait a bit for the blue badger to unblock him.


Marshall – Marshall’s Confession
Press statement all statements to reveal the next statement.
“I can’t just forget the SL-9 Incident… You know why?”
- Press statement
- Present SL-9 Incident Files
- When Ema appear, choose Objection next to continue the trial
- Present Blue Badger
- Present ID Card Record
Day 3 – Investigation
| Location | Action |
|---|---|
| Wright & Co. Law Offices | Talk to Ema |
| Detention center | Talk to Lana |
| Police Department Entrance | Talk to Marshall |
| Criminal Affairs Dept | – |
| Chief’s Office | – |
| Criminal Affairs Dept | Talk to Gumshoe |
| Criminal Affairs Dept | Present Switchblade Knife |
| Criminal Affairs Dept | Talk to Gumshoe |
| High Prosecutor’s Office Room 1202 | Talk to Edgeworth |
| High Prosecutor’s Office Room 1202 | Present Gant Team Picture |
| High Prosecutor’s Office Room 1202 | Talk to Edgeworth |
| High Prosecutor’s Office Room 1202 | Examine the ball of paper below Edgeworth’s desk |
| Underground Parking Lot | Talk to Angel |
| Criminal Affairs Dept | Present Letter of Resignation |
| Chief’s Office | Examine desk on right side of screen and get Evidence List |
| Chief’s Office | Examine safe and input passcode 7777777 |
| Chief’s Office | Talk to Gumshoe |
| Chief’s Office | Present Unsable Jar Assemble the pieces by fitting in the last piece of the jar |
| Chief’s Office | Present Fingerprinting Set Match the fingerprints to Ema Skye |
| Detention center | Talk to Lana Present Unstable Jar |
Day 4 – Trial Former
Ema – Two Years Ago
but I’ll never forget what I saw that instant!
- Press statement to reveal the next statement.
“I drew a picture of that scene once… but it seems to have been lost.”
- Present Evidence List
Ema – Ema’s Picture
This picture shows exactly what I saw that instant!
- Present Neil’s Autopsy Report
- Select the murder weapon
- Choose There is another one
- Present Gant Team Picture

Ema – Ema’s Recollection
He wasn’t in the room, but I’m sure I saw his shadow!
- Press statement
- Choose I just might know
- Present Unstable Jar
- Rotate the Jar to show it from a different angle that looks like the Blue Badger (see picture below for help)
- Choose any of the answer
- Choose is in the evidence
- Present Unstable Jar
- Connect the dots to spell EMA


Day 4 – Trial Latter
- Select Damon Gant
Gant– SL-9 Incident
As you can see, I had nothing to do with the “forgery”.
- Present Evidence List or Unstable Jar
Gant– Evidence & Forgery
Rearranging the crime scene wouldn’t help me out in any way.
- Press statement to reveal the next statement.
“I wouldn’t be anyone’s ‘accomplice’ if there was nothing in it for me.”
- Press statement
- Choose Point out accomplice
- Select Lana Skye
- Present ID Card Record
- Present Goodman’s Lost Item Report
- Present Parking Stub
- Choose I have no proof yet
- Select Lana Skye
Day 4 – Trial Latter 2
Lana – Gant & The Fabrication
When I found Prosecutor Marshall’s body, I rearranged the crime scene.
- Press statement to reveal the next statement.
I broke off the tip of Darke’s knife, planted it inside the wound, then moved the body.
- Press statement
- Choose Why did you move the body? and Lana next statement will be added
The pieces of the jar that shattered during the events threatened my plan.
- Present Unstable Jar
Lana – Jar & Message in Blood
The fragments were large, so I’m sure I got them all.
- Present Unstable Jar
Lana – Actual Crime Scene
There is no need to Cross Examine here as the story takes a turn and you will have to make various decisions and present Evidence to prove that Ema & Lana are both not guilty.
- Check the Evidence Law Book. Zoom in to open the book and retrieve the picture
- Choose Cannot show evidence (if it is presented at this point, the game will end with Ema being convicted)
- Choose to Show evidence now
- Present Piece of Cloth
- Select Ema Skye
- Present Lana’s Picture
- Choose I did not
- Present Evidence Law Book
The final piece of evidence proves that Lana Skye is innocent and the NOT GUILTY verdict will be given.
