Available from 4/18 to 5/2
| 4/29 | Last day to locate Treasure Room |
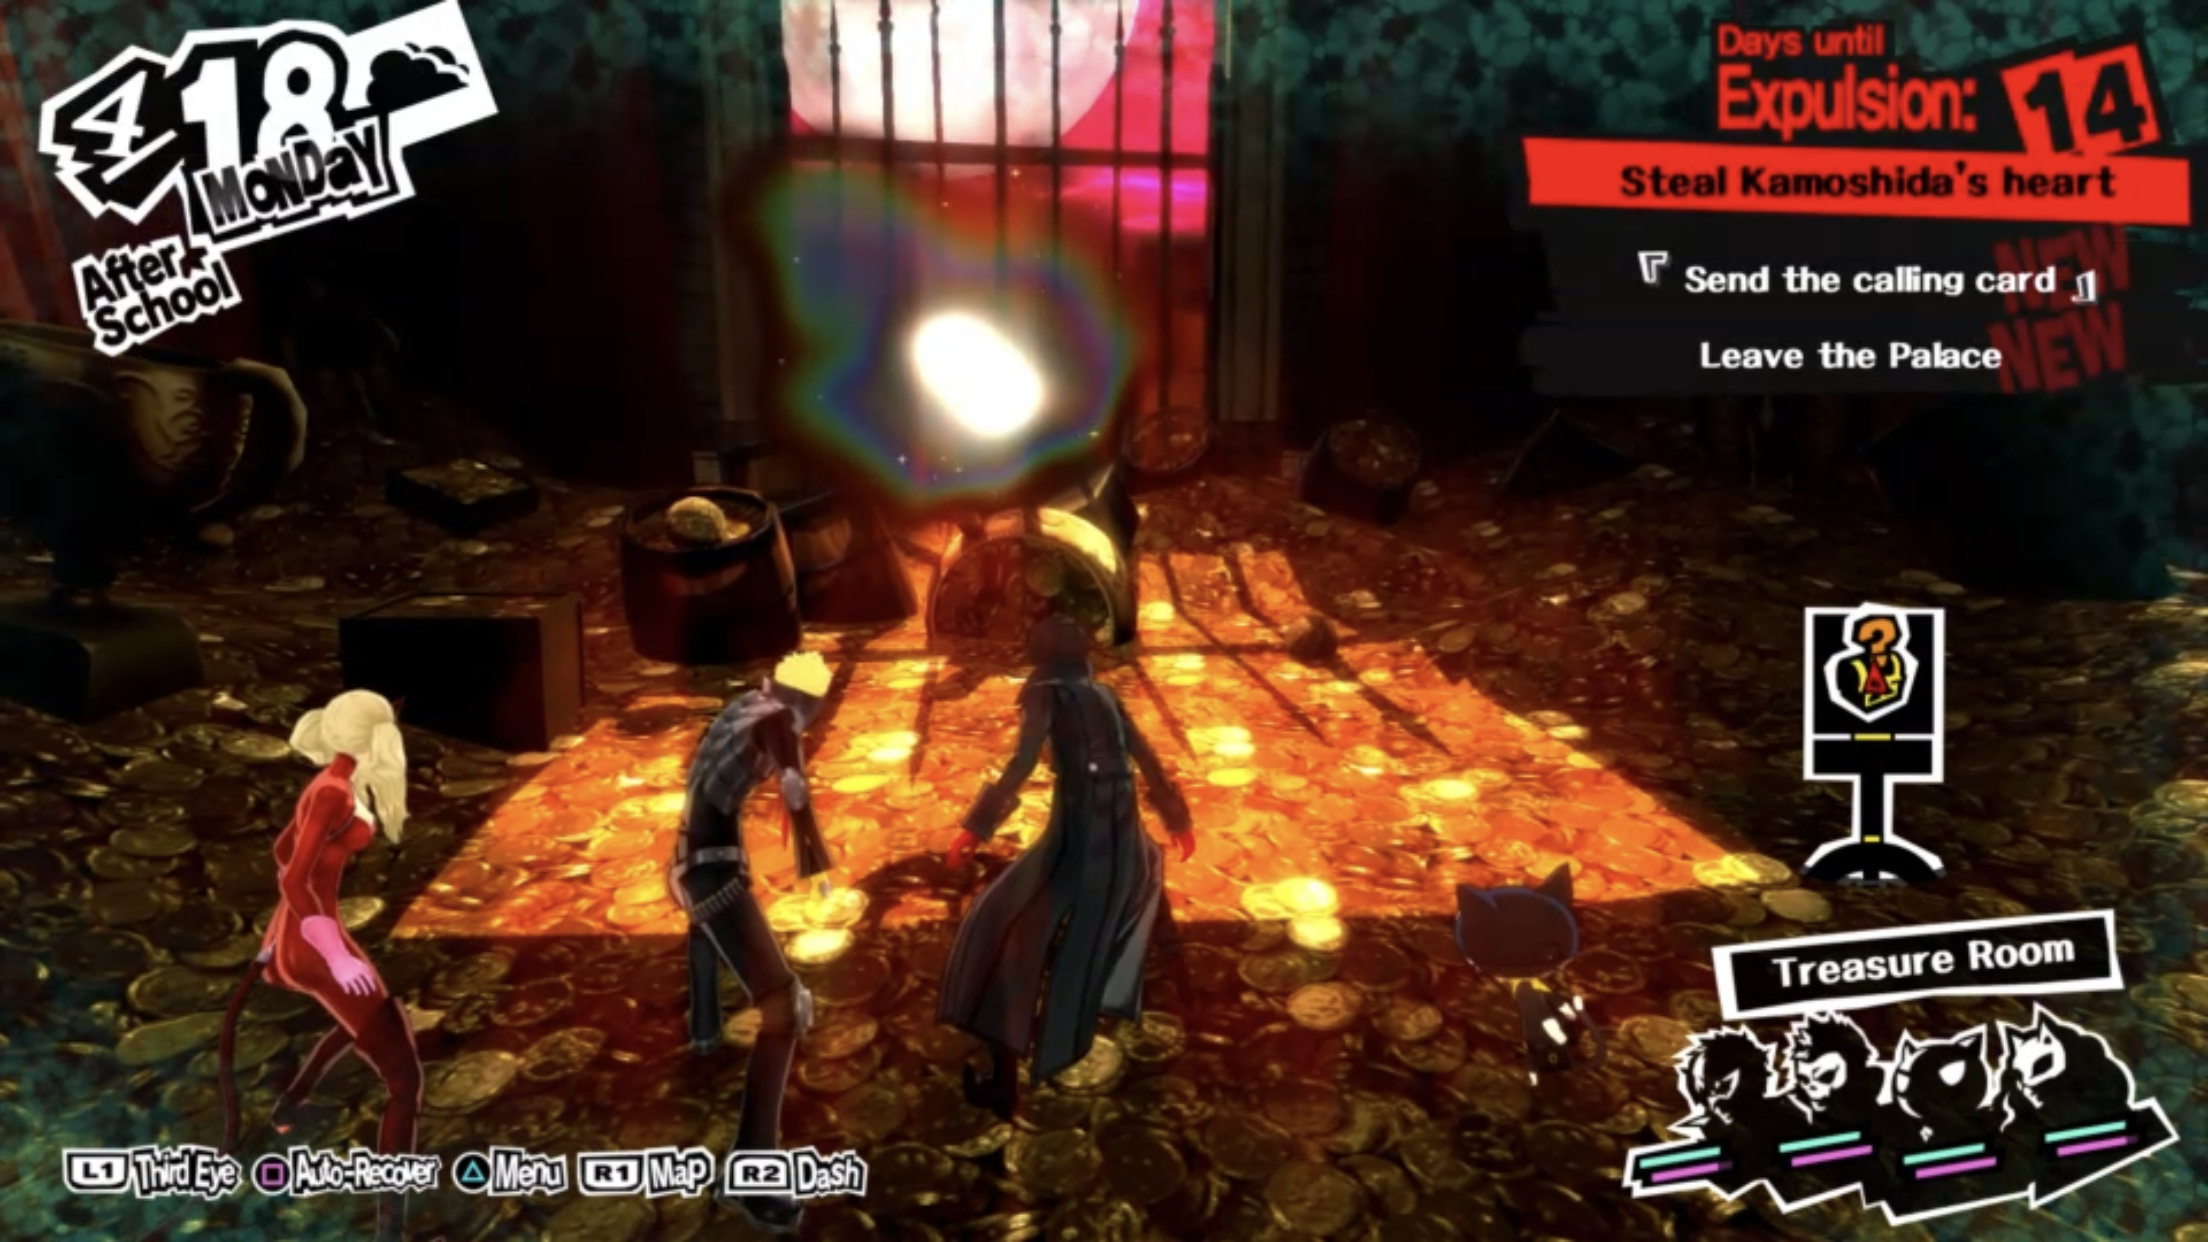
| 4/30 | Last day to send Calling Card |
| 5/1 | Last day to Steal Treasure |
This guide will only contains strategy to puzzles and Bosses in the Palace.
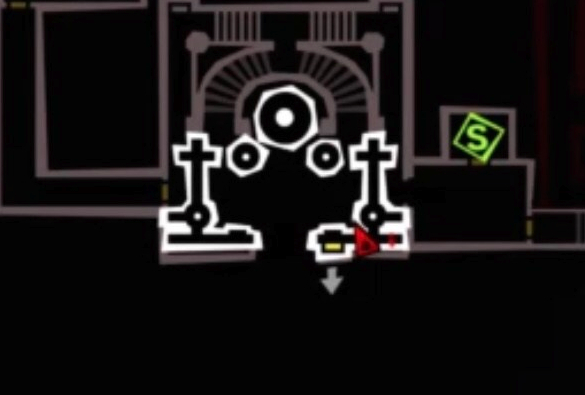
West Building 2F
In the room with bars surrounding the object, use the Third Eye ability (L1/2 button) and you will see 1 lever flashing in blue and footprints on the floor leading to the 2nd lever to pull. Receive the map from the middle of the room.
Central Hall
To get to the other side of the map, use Third Eye Ability to check which wall you can climb. Jump over the chandeliers to get to the other side of the room.
East Building 2F
Go towards the east of the East Building 2F. This part is a new map area in P5R.
In the area with iron bars blocking your way, use the Third Eye Ability again to look for the 2 levers that you need to pull. When you are locked up after pulling all the levers, climb up and crawl through the vent.

Grab the treasure chest and pull on the last lever to unlock all iron bars.
You will come upon a Locked Door after passing the dining hall. Climb up the shelves and crawl through the vent to another room.

East Building 3F
You will realized that you can’t move on. A new function called the grappling hook is now added to P5R. You have already experienced it at the start of the game.
In the upper west room, examine the bookcase and find The Queen Book. In the lower west room, examine the bookcase and find The Beefcake Book.
Go to the room behind the Safe Room and check the bookshelf for The Slave Book (you will need this in later part of the Palace)
In the first room down the hallway which Mona described as the library, you can find The King Book.
Use the books in the following locations:
| Shelf outside Safe Room | Full of books about muscle | Insert The Beefcake Book |
| Library | Full of books about Kamoshida | Insert The King Book |
| Library | Full of books about female students | Insert The Queen Book |
| Library | Full of books about male students | Insert The Slave Book |
A room will open up behind the shelves. Check the shining item on the Shelf in the room to get map and key to the locked door.
East Building Annex
In the place that looks like a church (gym in reality world), you will meet your first mini boss.
Heavenly Punisher

- No elemental weakness
- Resist Fire, Electric and Ice
Battle Tactic
- This is a very simple battle
- Guard when he uses Charge
- Use your strongest physical or elemental attack that he does not resist
- Let Mona heal any party member who suffered damage during battle
After the battle, you will be able to hook up to the next floor..
Head over to the other side and jump down and you will find a hidden treasure chest. Walk around to the back to retrieve it.

Mona will alert you to something. Cross over to the other side to learn about Will Seed.

At the staircase, head down to a locked chest first before heading up. If this is your first run, you may not have a lockpick. Take down the location and come back before your last battle.
Roof
The door is locked. Lookout for the spot where you can hook yourself up.
Mona will tell you that she sense another Will Seed. Crawl through the vent and reach the exterior of the tower. Grab the treasure chest and hook yourself up to find the next Will Seed.

Head back to the room and move to the next area.
Central Tower Lower Level
On the right bottom of the map, there is a small room with a platform with a lever that you can pull which will lead you to a hidden room. Move towards the area with the safe room and just south of the safe room, you can find a lever. Pull it.
Head back to the platform and pull on the lever to head down. There is also an interesting hidden path behind a giant portrait of Kamoshida inside the room. The room is just fun to explore but there isn’t anything inside that affects your progress.
Head down towards the another platform and pull on the lever.

You will now be in an area which wasn’t accessible if you have checked your map earlier on. You can see a strong guard standing before the Will Seed Room. You will need to defeat it to enter the room.

Torn King of Desire

- No elemental weakness
- Resist elemental attack
Battle Tactic
- Use physical attack only
- Let Panther heal any party member who suffered damage during battle
Once you defeated it, you can enter to retrieve the last Will Seed of Kamoshida’s Castle. The 3 Will Seed will merged and you get Crystal of Lust accessory.


Central Tower Upper Level
All paths are blocked. Check the Kamoshida Statue and tell them “an enemy has the key”. Go back to the middle level and fight the enemy in golden armor to get Randy Right Eye.
Go back to lower level and fight the other enemy in golden armor to get Lustful Left Eye. You will realized that all the guard are in golden armor on this floor. Use your Third Eye ability to find the one that glows in gold.
Head back to the statue and insert the two eyes.
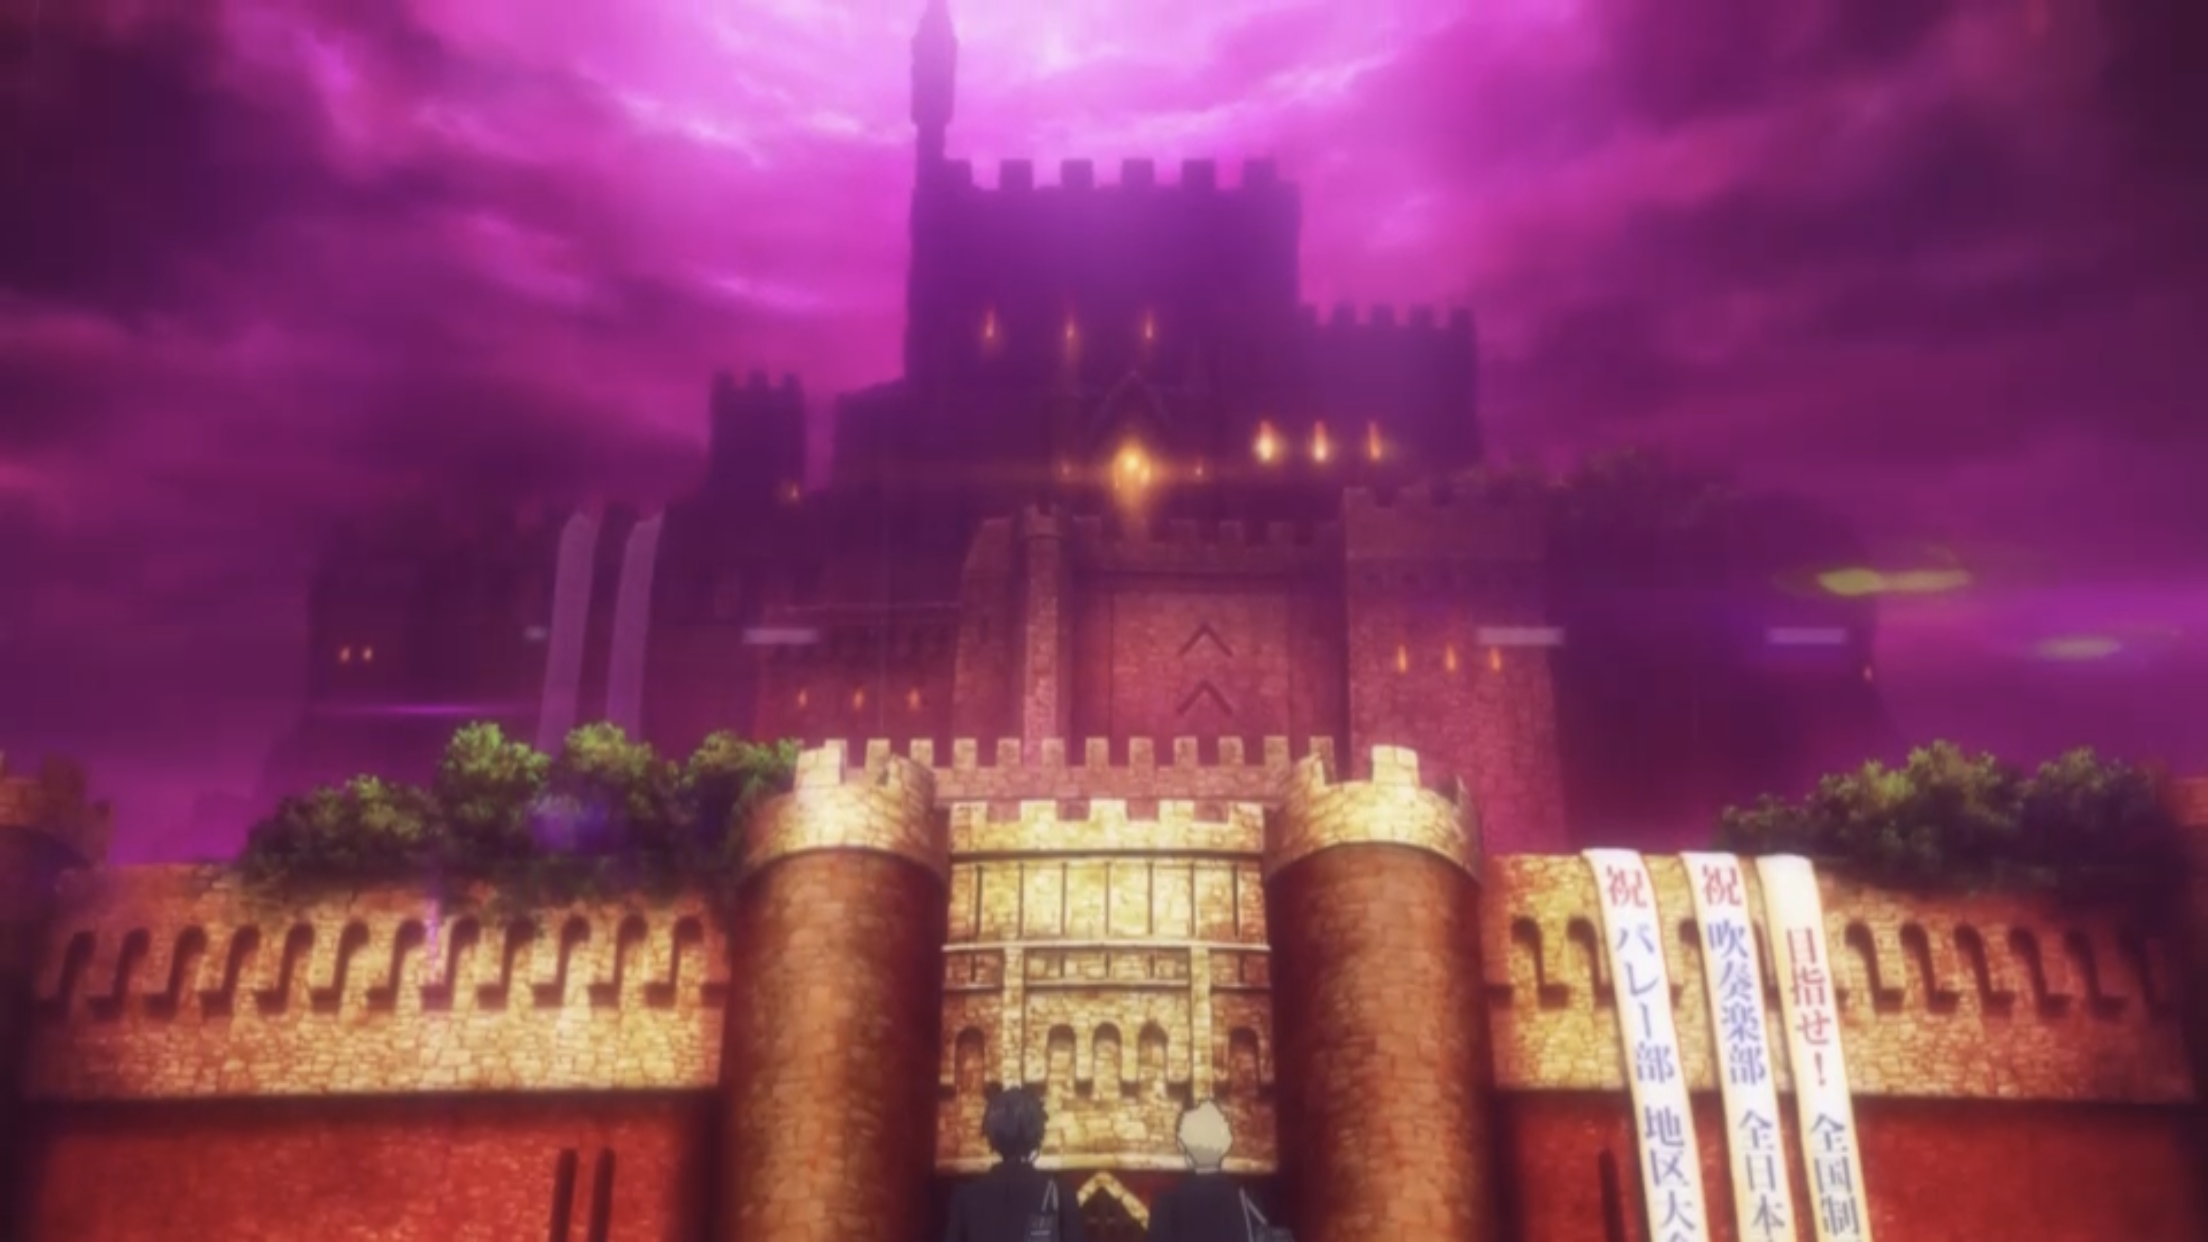
Throne Room
Important: Use the Safe Room.
The door to the room is locked. Climb up the statue to the left of the door to access the Treasure Room at the back.
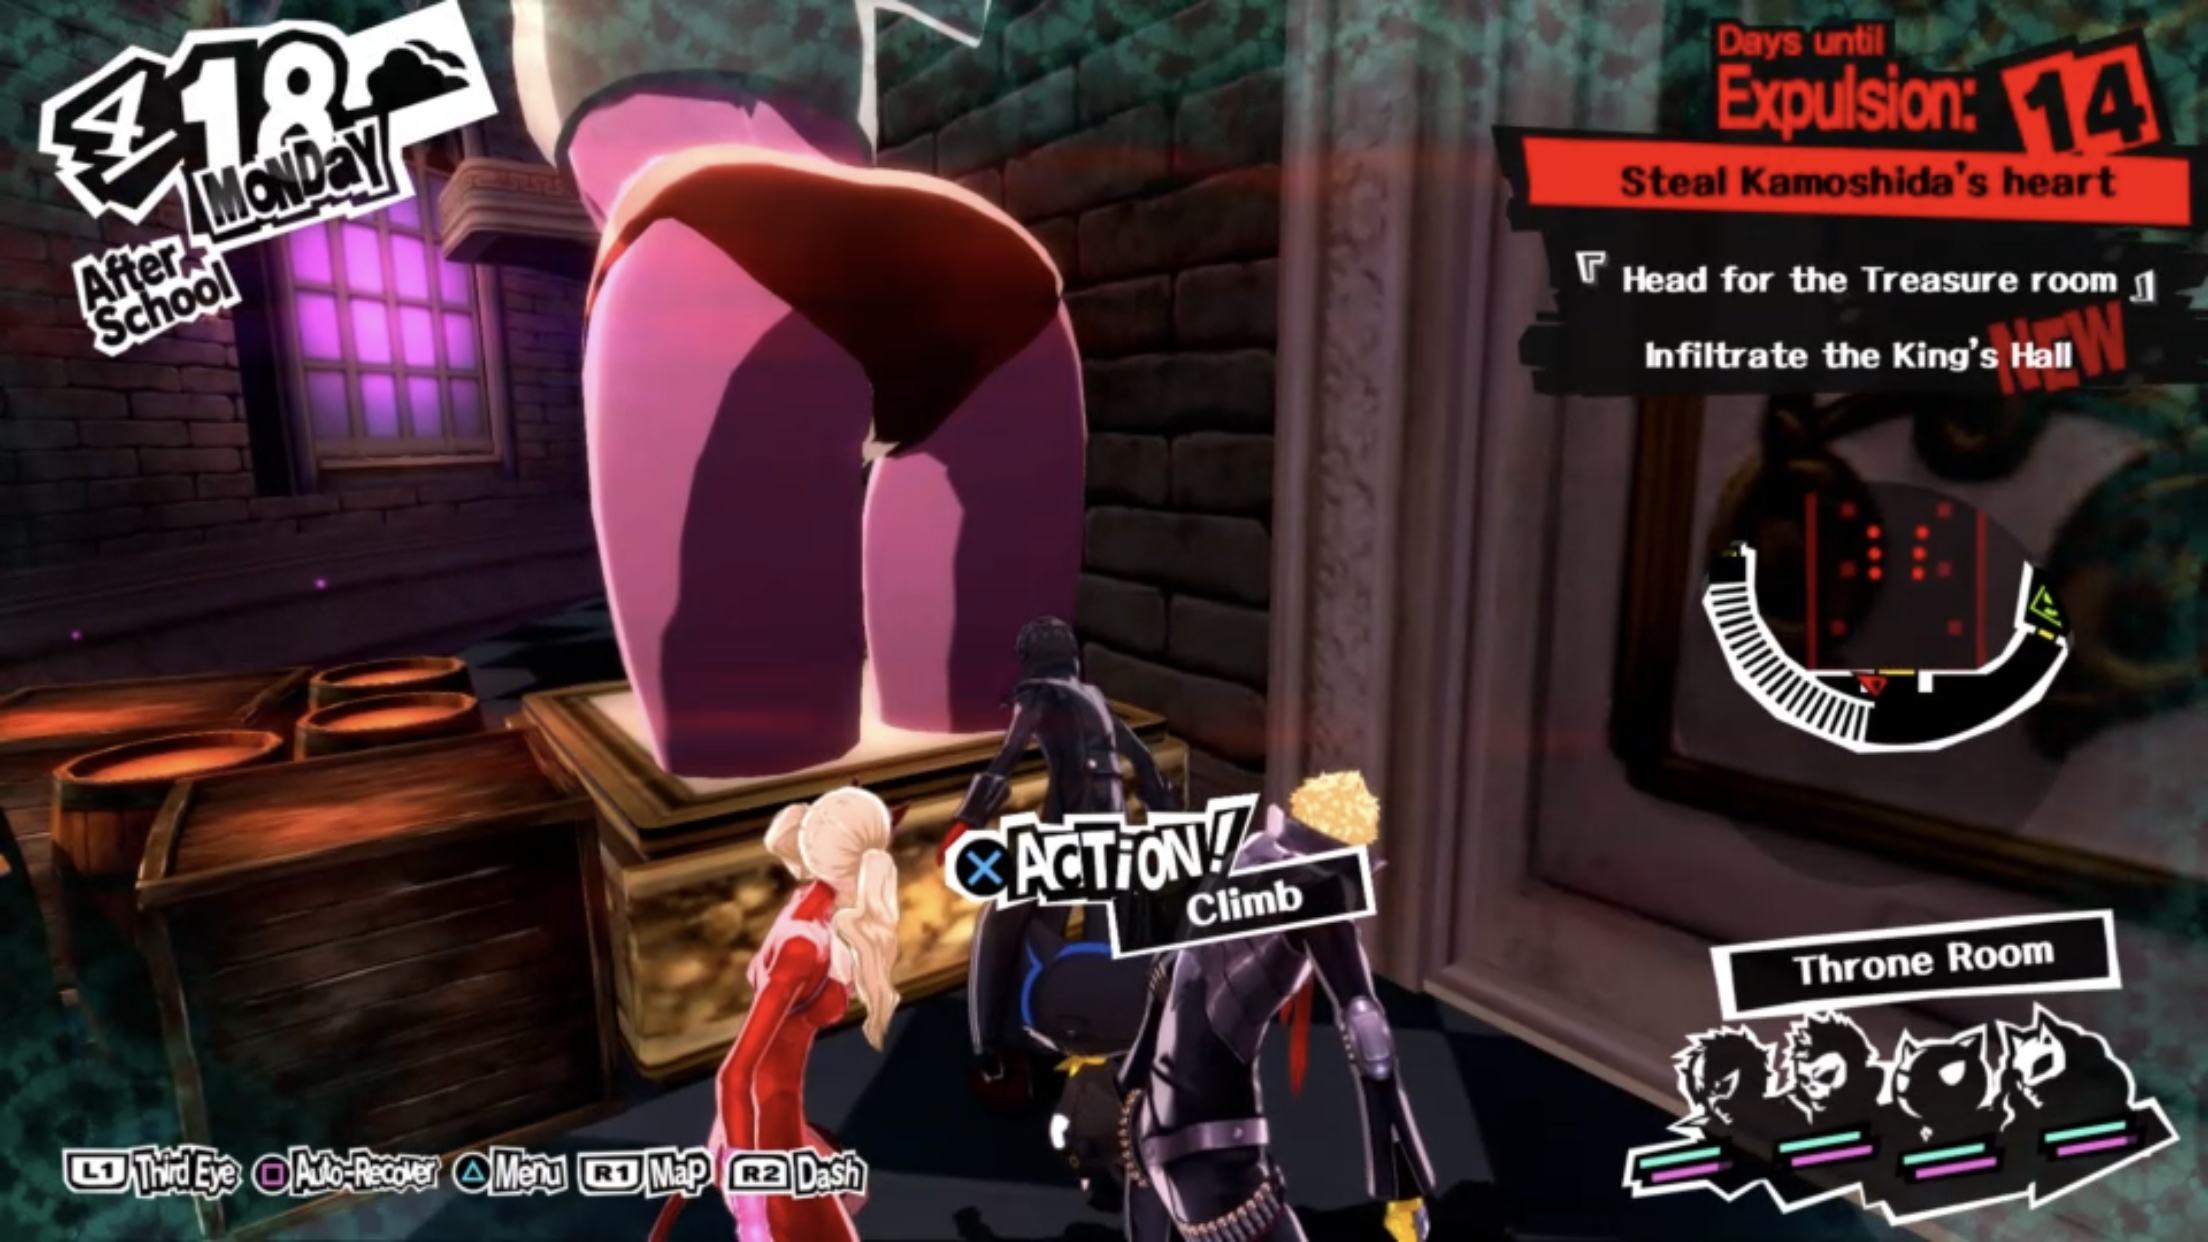
Route to Treasure Room is now secured!
Suguru Asmodeus Kamoshida
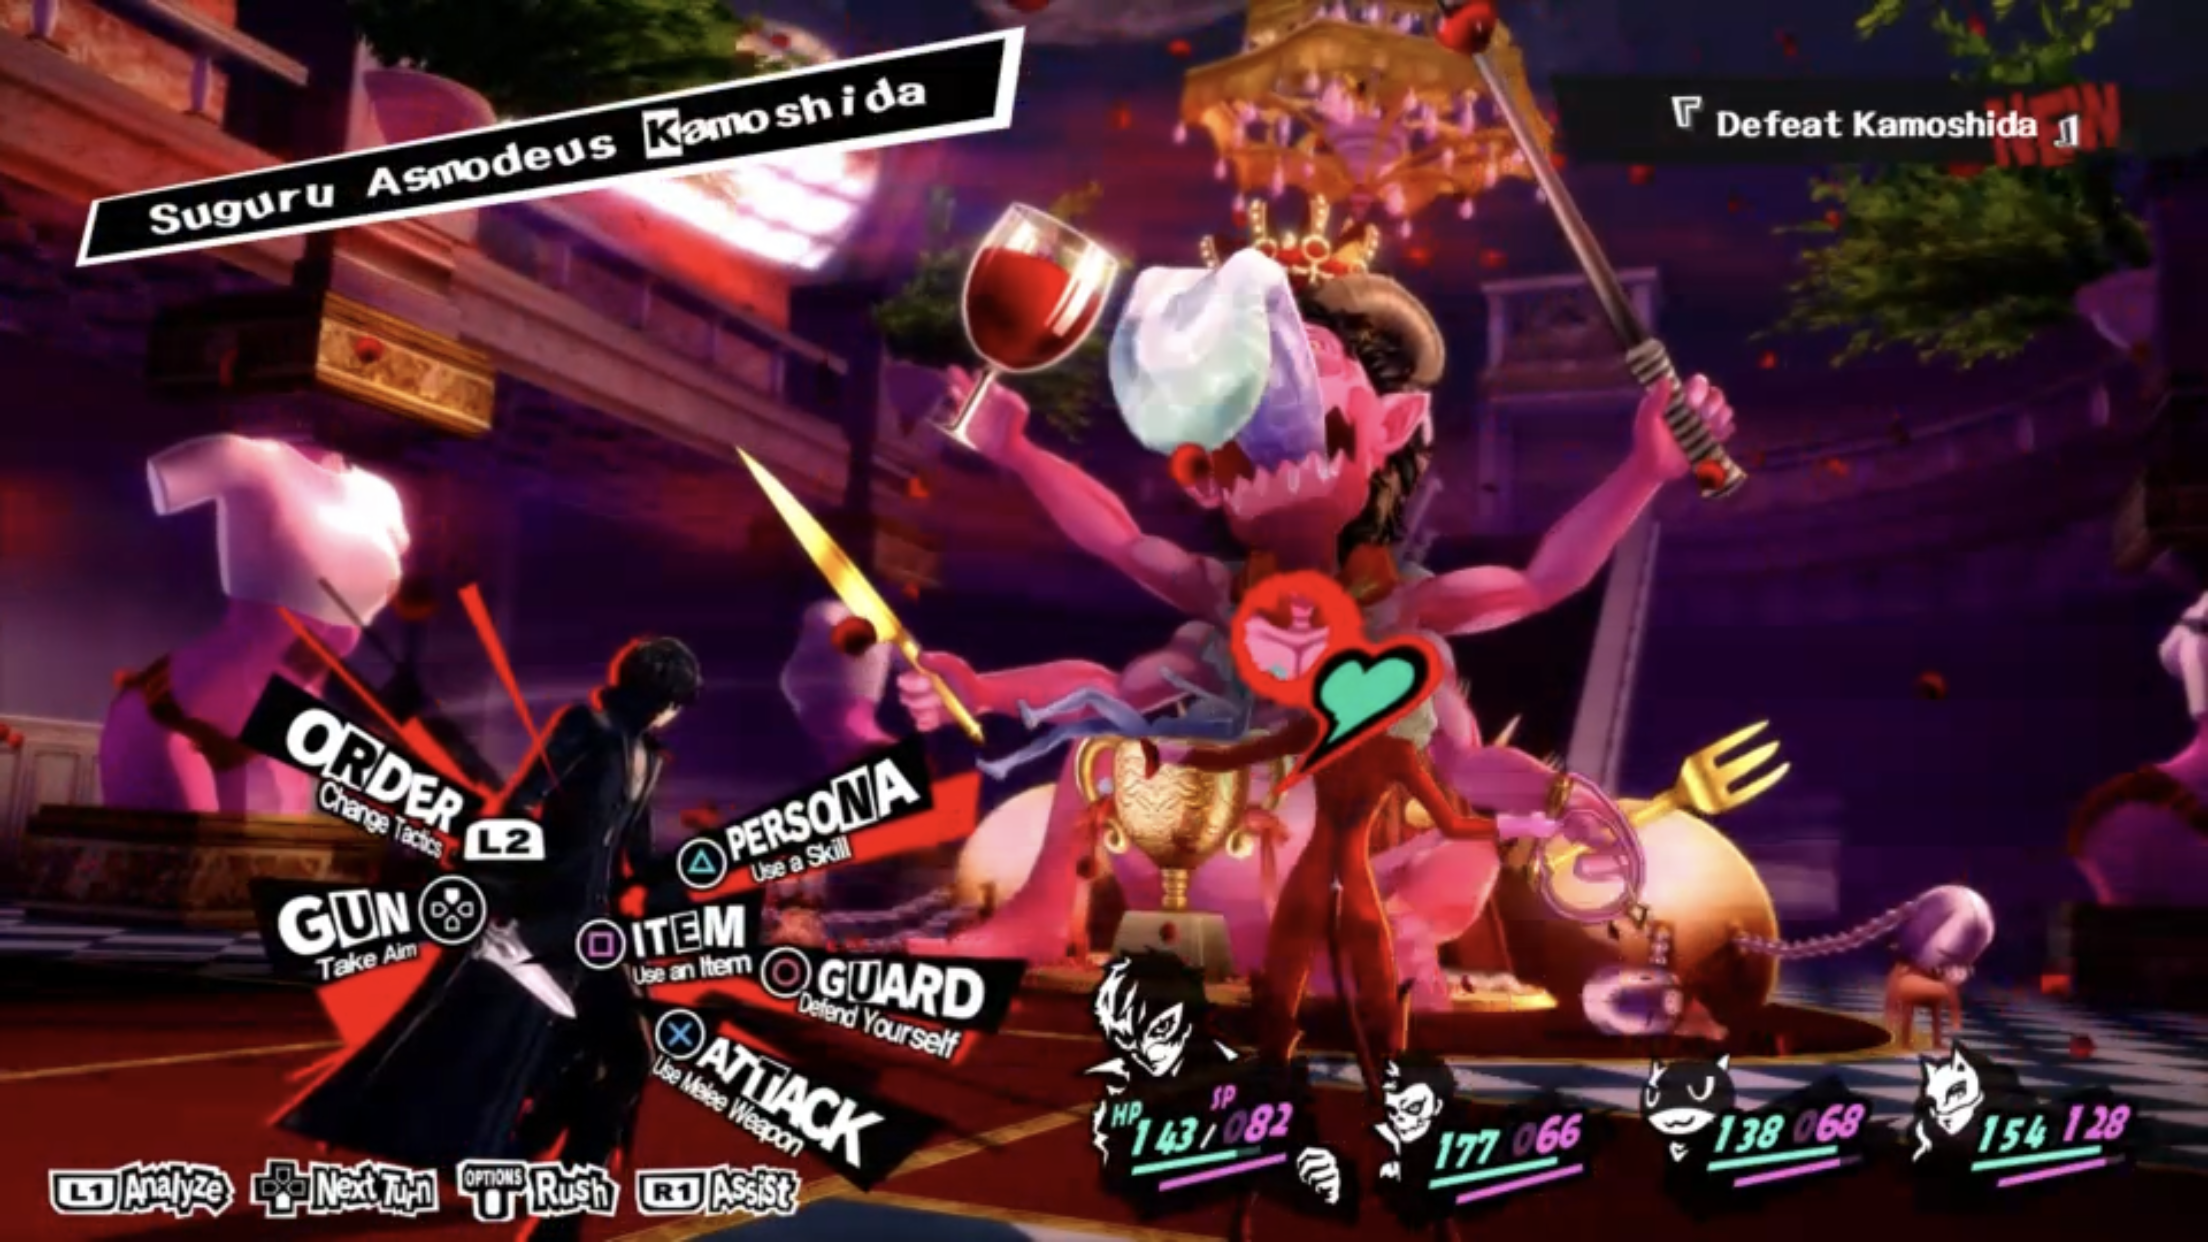
- No elemental weakness
Battle Tactic
- Use your strongest physical or elemental attack that he does not resist
- Once he uses Libido Boost to heal himself, destroy the trophy of obsession first otherwise he will kept healing.
- Guard when he send his minions out as he will use Gold Medal Spike attack next which will deal massive damage to your whole party
- When Suzui Shiho is summoned, choose to attack her. She is weak to any attack. Defeat her to block the next Gold Medal Spike attach.
- Send someone out to steal the crown when prompted. Keep attacking and healing up.
- Once his crown is lost, he will be dejected and you will be able to defeat his quickly as his defense dropped.
Check out the Boss Battle Video below if you need the full run guide.
