Available on 12/24
You will need to clear this within one day. On 12/24, you will automatically enter the Mementos after school. Head straight down to Path of Sheriruth Area 14 and head down the opened door.
If you ran out of HP/SP at any time in the Mementos, you can return to the top floor and speak to Caroline and she will fully restore them.
This guide will only contains strategy to puzzles and Bosses in the Palace.
Entrance
The door won’t open so head down to the platform below and climb up to the Large Opening.

Prison Passageway
Walk along and the path immediately upon entering, you will encounter 2 Pagan Savior. They are weak to wind attack.
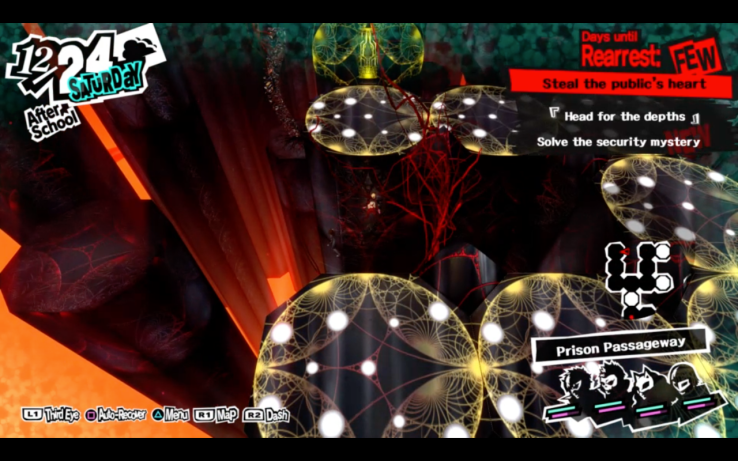
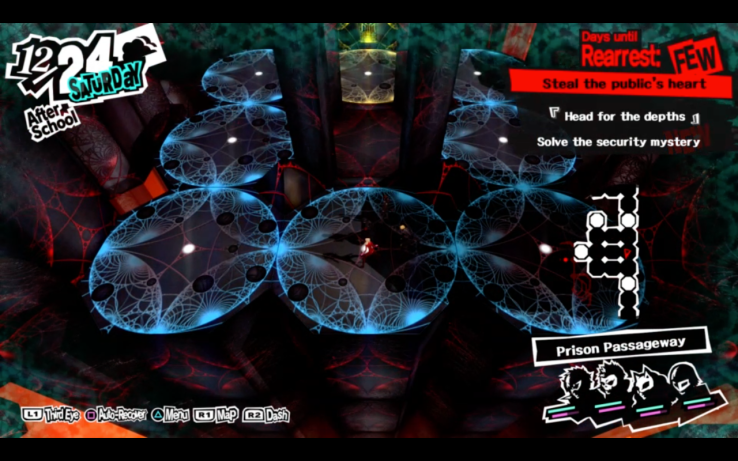
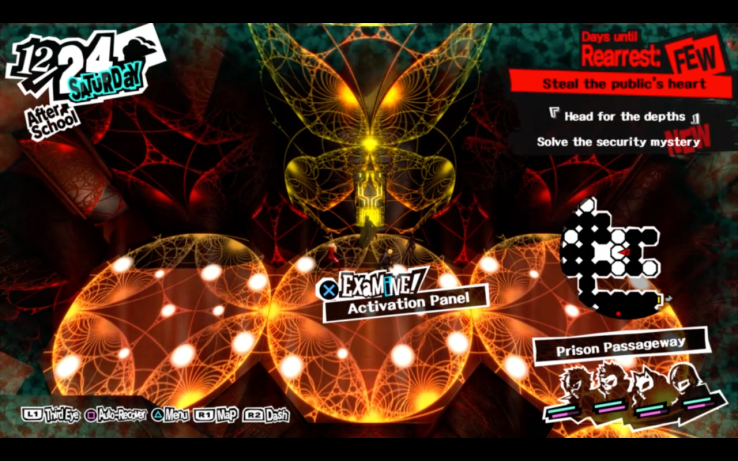
As you continue forward, you will come across the first puzzle. You need to turn all the yellow tiles into blue to unlock the path. Follow this order:
Down – Down – Right – Up – Right – Up – Left – Left
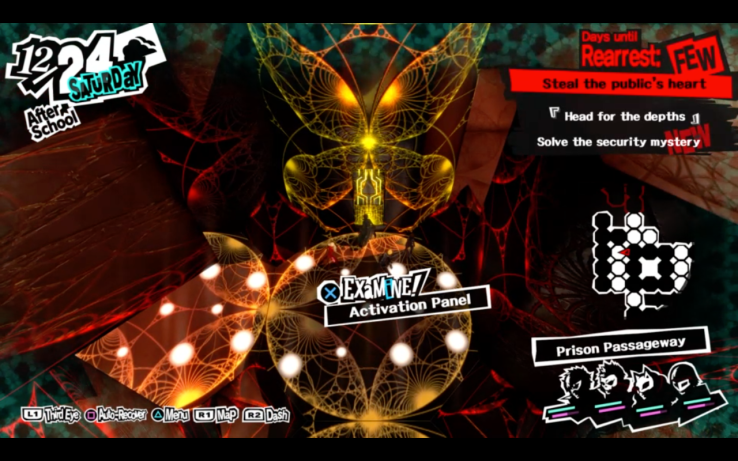
In the next area, there will be another activation panel with the same puzzle. Follow the order (tilt your screen so that the activation is on the left so that you can see all the tiles):
Right – Right – Right – Left – Left – Up – Down – Left
At the end of the same area, you will come across another panel. Follow the order (tilt your screen so that the activation is on the top):
Down – Right – Down – Down – Up – Left – Up – Down – Up – Up
Cavernous Void
This will lead you to the next Prison Passageway area. Just follow Mona’s lead.
Prison Passageway
Once you entered this area, you will see the owners of all the previous Palaces you have beaten and Shadows will appear and you will be forced into 3 consecutive battles. These are easy as they are just regular Shadows.
This map is big but it’s pretty straightforward. Just keep heading for the exit.
In the next area, near to the Safe Room, there is a strong shadow (Abaddon) that you need to battle to get what he is guarding. He is weak to Psio and Frei. Once the battle is over, head to the back and get the Vermilion Disk.
If you are having trouble battling him, do try to do some leveling now, otherwise you have more difficulties with the Bosses at the end. Don’t be afraid to use your SP as there is a safe room here and you can easily head back to the entrance to get Caroline to heal your HP & SP back.
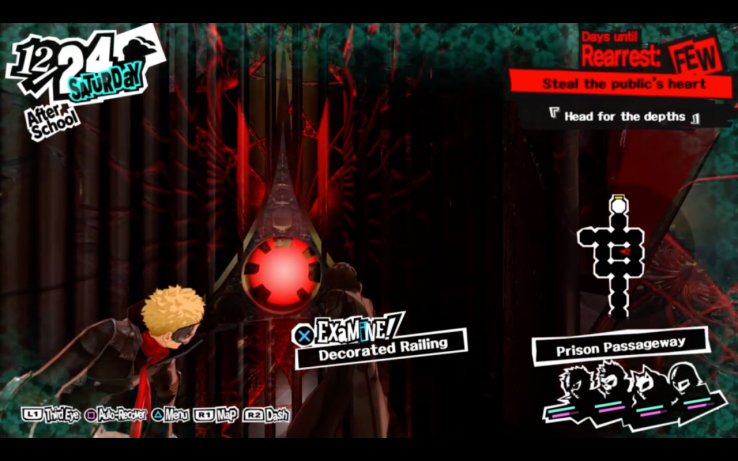
Continue to head north and you will come across a decorated railing. Fit the Vermilion Disk into it.
Head over to the panel now to activate the puzzle. Follow the order (tilt your screen so that the activation is on the top):
Down – Right – Down – Left – Right – Up – Left – Left – Down – Down – Right – Right – Up – Up – Left – Up
Cavernous Void
This will lead you to the next Prison Passageway area. Just follow Mona’s lead.
Prison Passageway
As you enter this area, you get another cut scene and a battle with 3 Shadows. They are weak to Bless attack. I used Mahamaon on them for an instant kill.
Moving forward, you will come across another panel but this time, the light on the floor is slightly difference. You will have to complete it within a certain number of turns. Your starting point for this puzzle is slightly tricky. Head down and you will find an invisible path. Once you are at this spot, just go anti clockwise back to the activation panel.
In the next area, head north first for the activation panel. There is another invisible tile below the panel. Follow the order:
Left – Down – Right – Right – Right – Left – Left – Right – Up – Left
Go into the opened room above and get the Vermilion Disk. Now go back down to the activation panel near the entrance, you will find a decorated railing for you to fit in the Vermilion Disk. Go for the panel only after inserting the disk.
For this puzzle, head down through the area you have opened up with the disk and you can choose to go clockwise or anti clockwise. You should end up here with one last move available. Then head straight up for the panel.
In the next area, it’s a little bit more tricky as there are a few panels are in the same place but you need to activate them in order.
The first one to activate is the one on the right side.
Follow the order:
Left – Right – Right – Down – Up – Left – Right – Left
Next, activate the panel on the left. This is an easy one. You just need to go clockwise or anti-clockwise.
Lastly, activate the last panel on the top. Head clockwise on the outer tiles towards the unlighted tile in the middle. There should be 3 turns left. From here, go up and down again and then up and right to the panel.
Shrine
Your boss battle will begin here! You will need to battle the Treasure of Mementos.

- There is no way you can win this battle.
- The Holy Grail will just keep healing itself back to full health.
- Just use rush to speed up the game.
Shibuya
You will now be returned to Shibuya and back to your normal form. However, the mementos have evaded Shibuya and it seems like nobody can see it except you and your confidants. But slowly, your party and you began to fade away…..


Velvet Room
You will wake up and find yourself in the Velvet Room but the twins were being ordered to execute you. You won’t be able to attack them in the battle but they soon realized that they have another mission. You will be asked to execute them (aka fuse them) so that they can become one again.
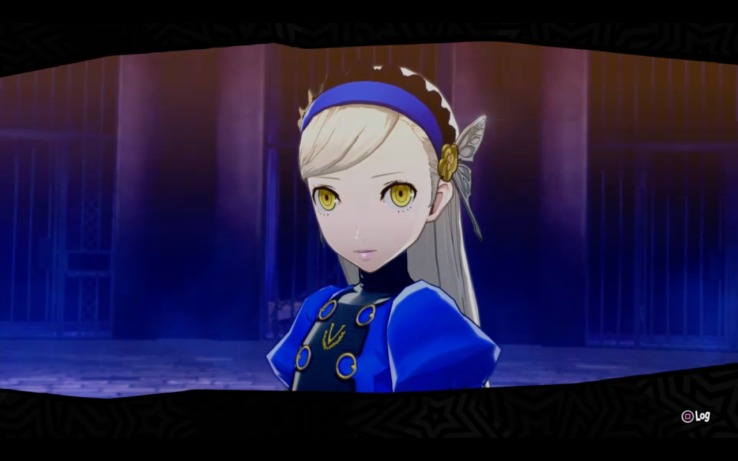
Lavenza is back and she reminded you of how you have met her in her butterfly form previously. Another secret is revealed that Igor is not Igor! Refuse the imposter and he will disappear and the real Igor returned. He will tell you that your teammates are somewhere in here. Go recruit them back for the fight!
Once you have gathered everyone, you will returned to Shibuya and headed for the next Palace – Qliphoth World
